Article

5 Steps to Setting Up Your Self-Scheduling Page
Steven BordersCreating a self-scheduling page is a fairly easy process. However, TimeTap has a lot of powerful features that you don’t want to overlook when setting up an appointment or class scheduling page. It’s important to think through your scheduling process from the customer’s perspective, while also considering the information you need to gather or provide when someone books an appointment on your scheduling page.
To lend a hand, we thought it might be helpful to suggest a few items to consider when setting up your scheduling process. If you are looking for more than overview, you can also check out our getting started documentation for more details. Investing a little extra thought and time into the process will ensure you create a seamless process for your customer and automate your appointment scheduling tasks.
Create a custom booking page
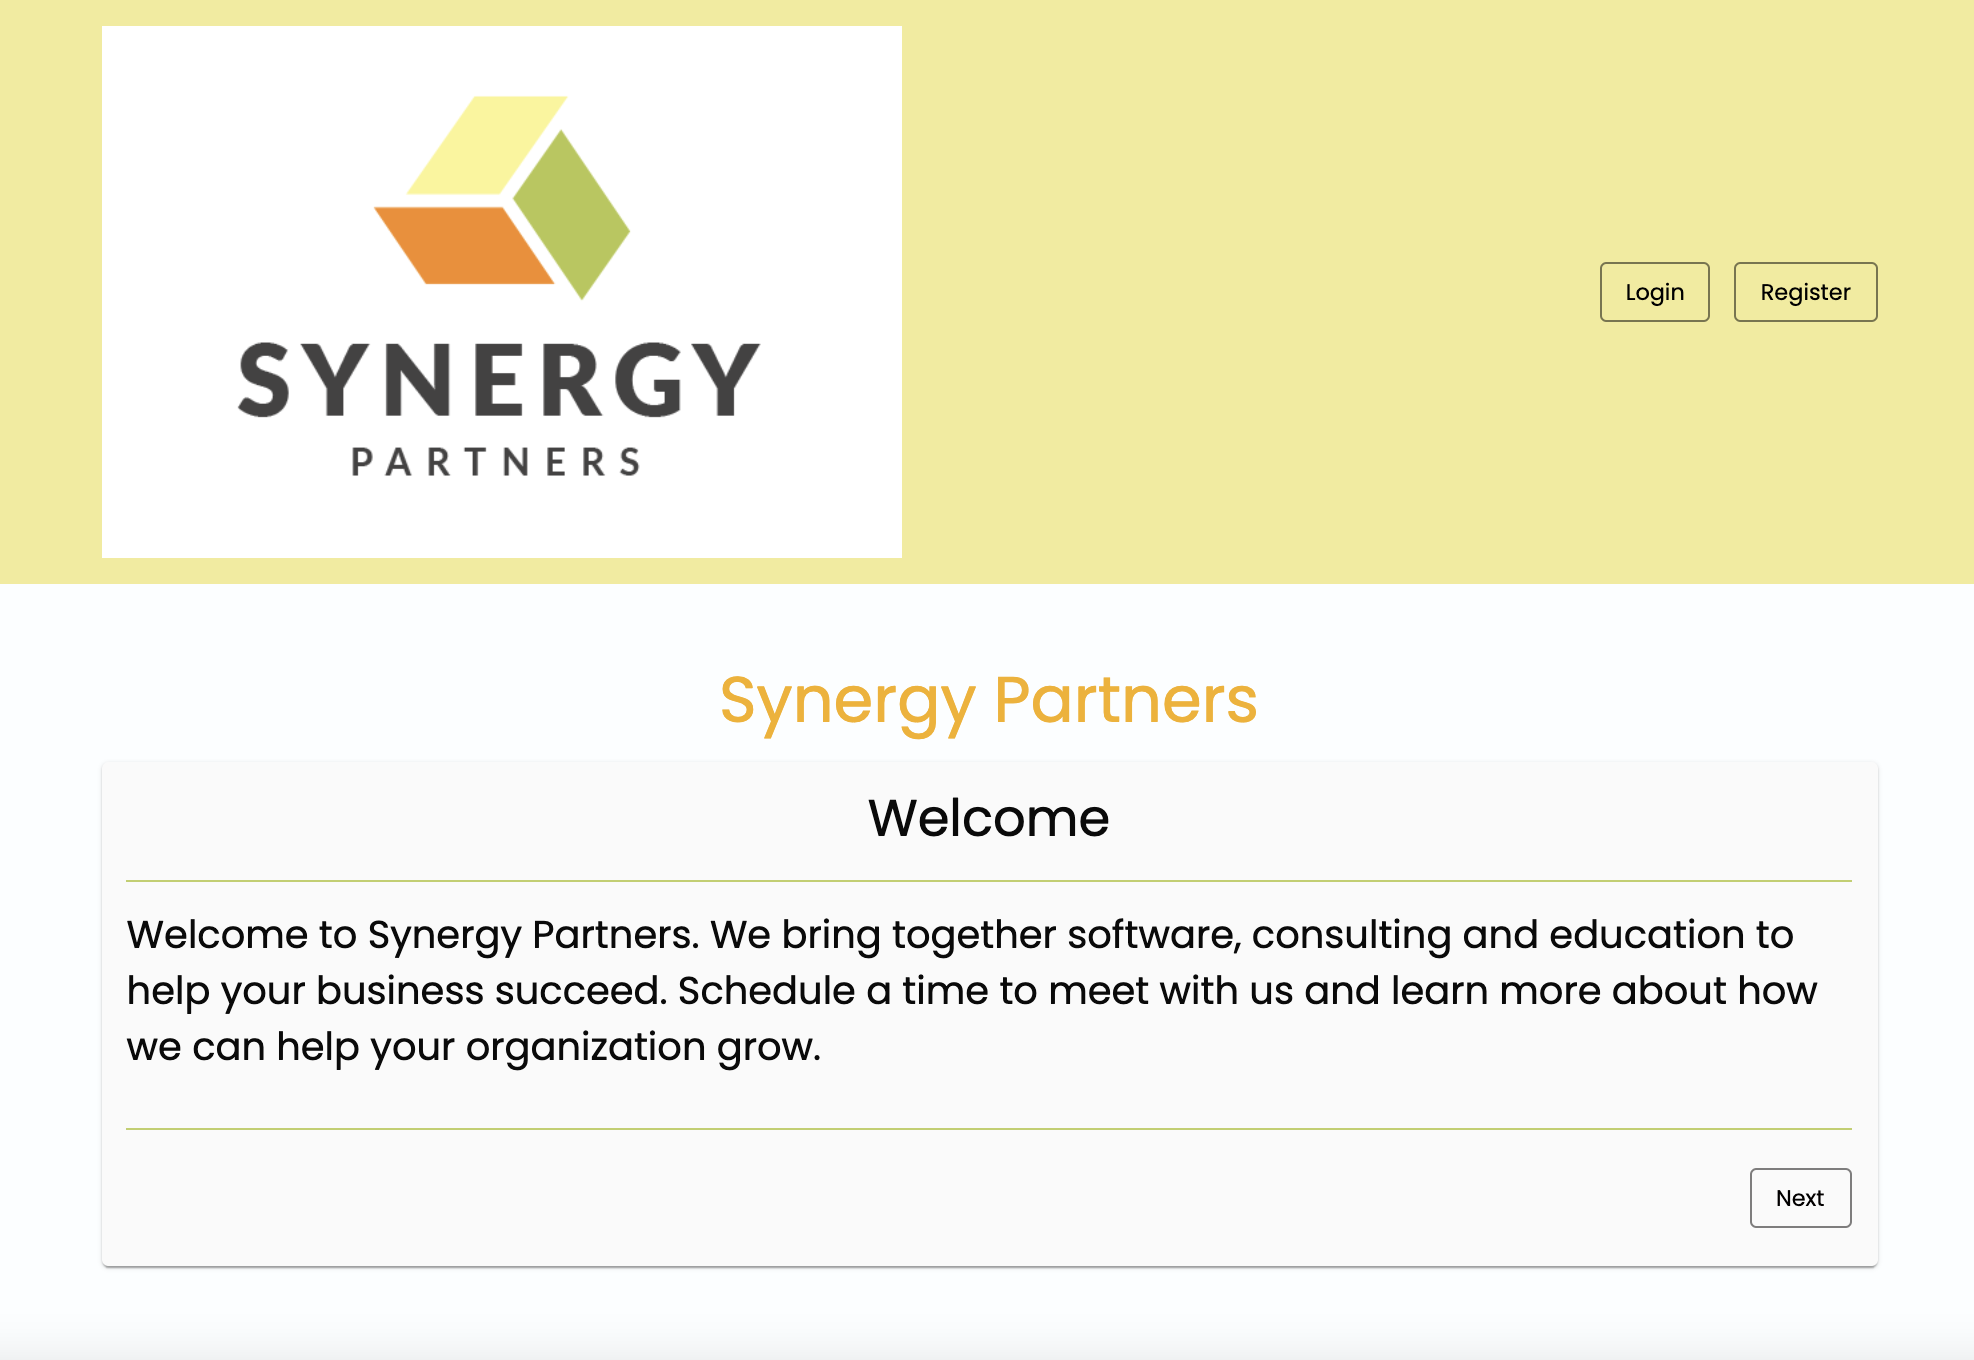
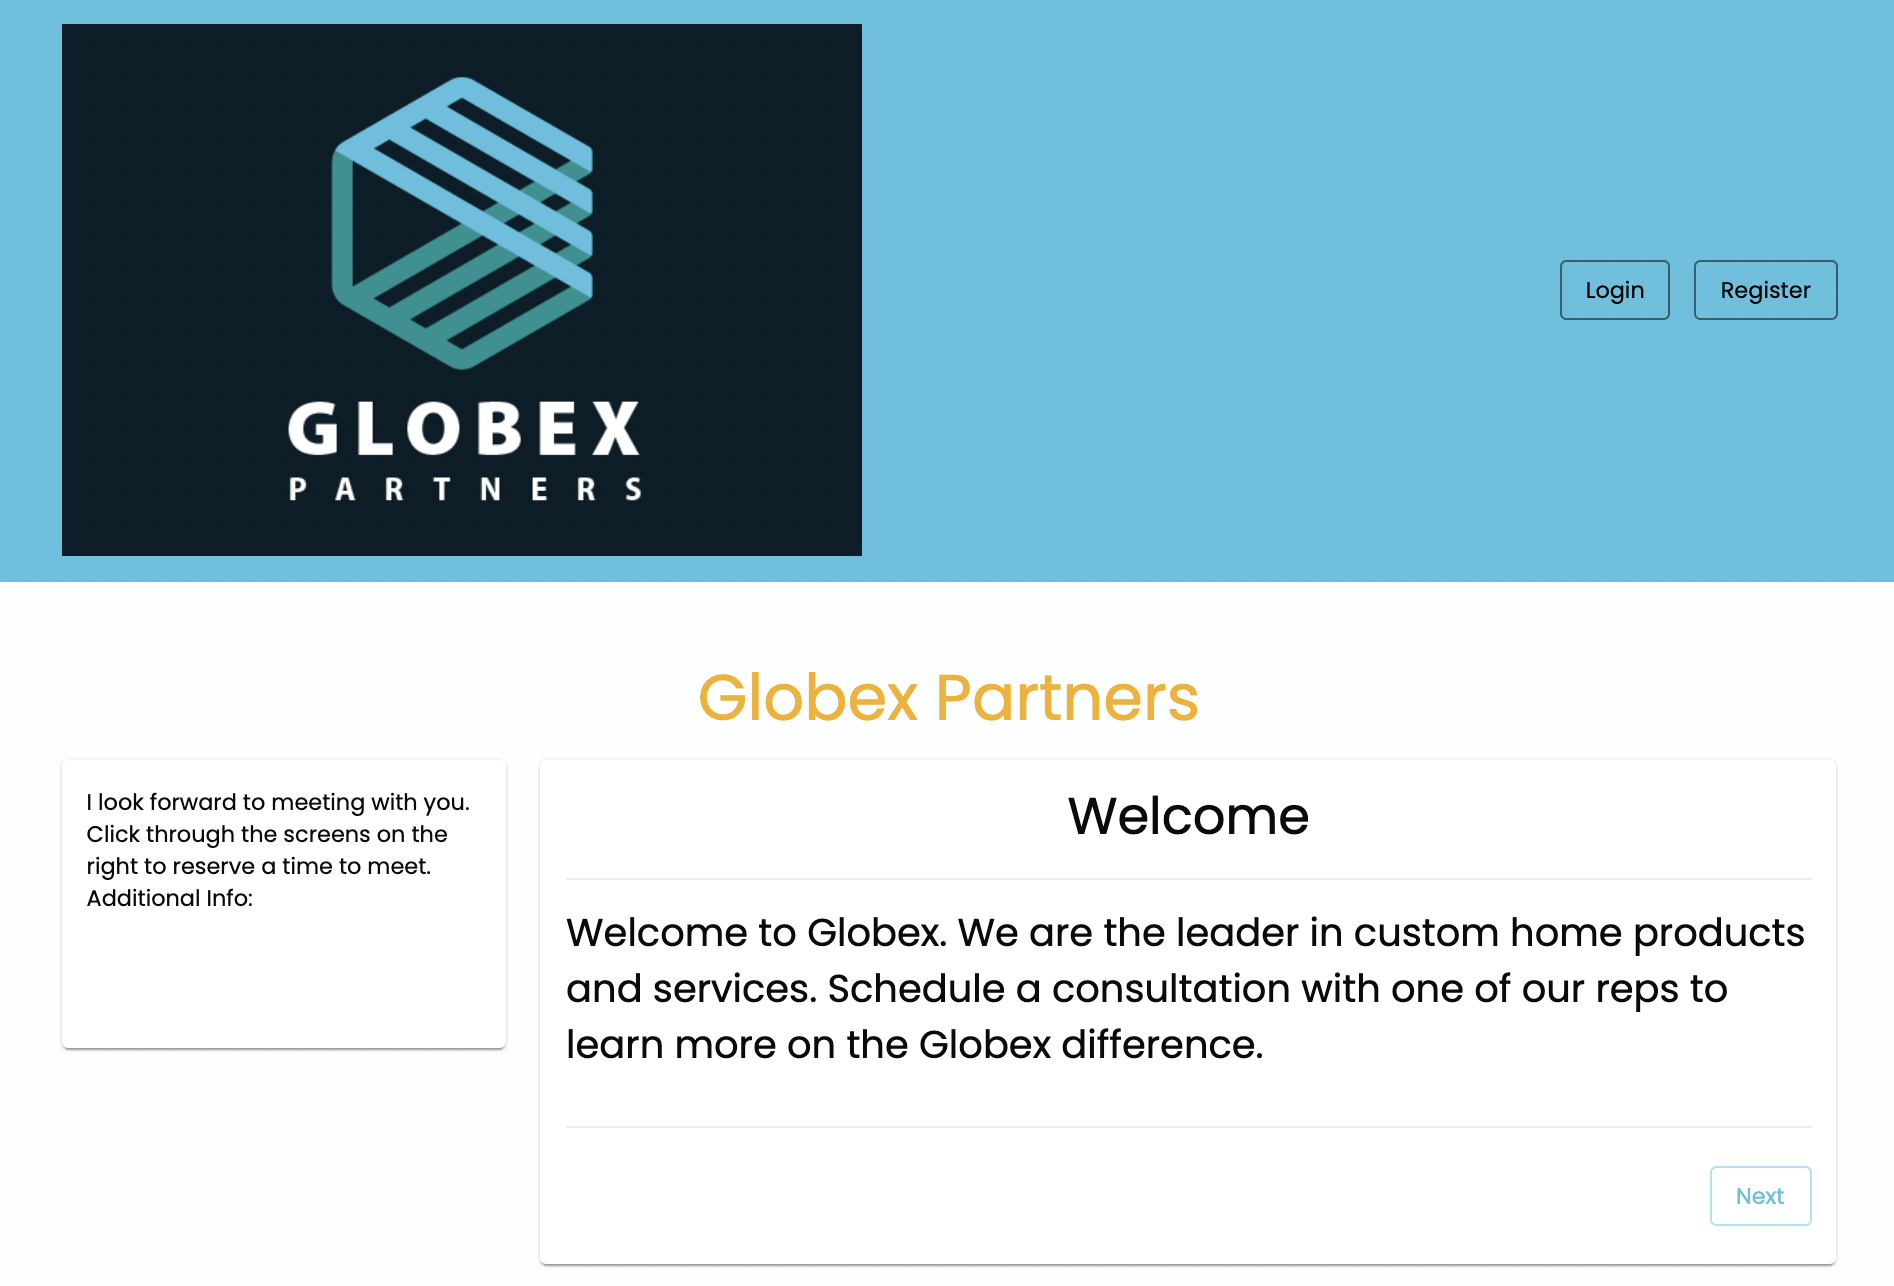
When you create a booking page, you’ll want to be sure to customize your booking site to match your brand. TimeTap offers the ability to completely customize the look of your appointment booking page. You can upload your company logo and choose colors that match your organization’s styling. This allows your booking page to match the look and feel of your own in-house software without the time and cost involved in developing a tool.
Decide on appointment scheduling flow
Sometimes your booking process involves more than selecting a date and time. Perhaps your organization has multiple staff, locations or services they offer. Depending on the selections a customer makes, it presents a different array of available times for booking appointments. This is one reason why it is important to use a feature-rich scheduling tool. To set up your scheduling, watch this tutorial.
Additionally, you might need to design a flow for scheduling an appointment. This means you can order the fields that a customer selects when scheduling an appointment. It is a powerful feature that is useful for larger-sized organizations or ones with multiple staff or locations.
Thinking through this process means you won’t need to manage multiple staff calendars on multiple booking pages. With TimeTap, you can consolidate all your staff schedules into a single booking website — making it the one-stop location for booking appointments with anyone in your company.
Customize your booking form fields
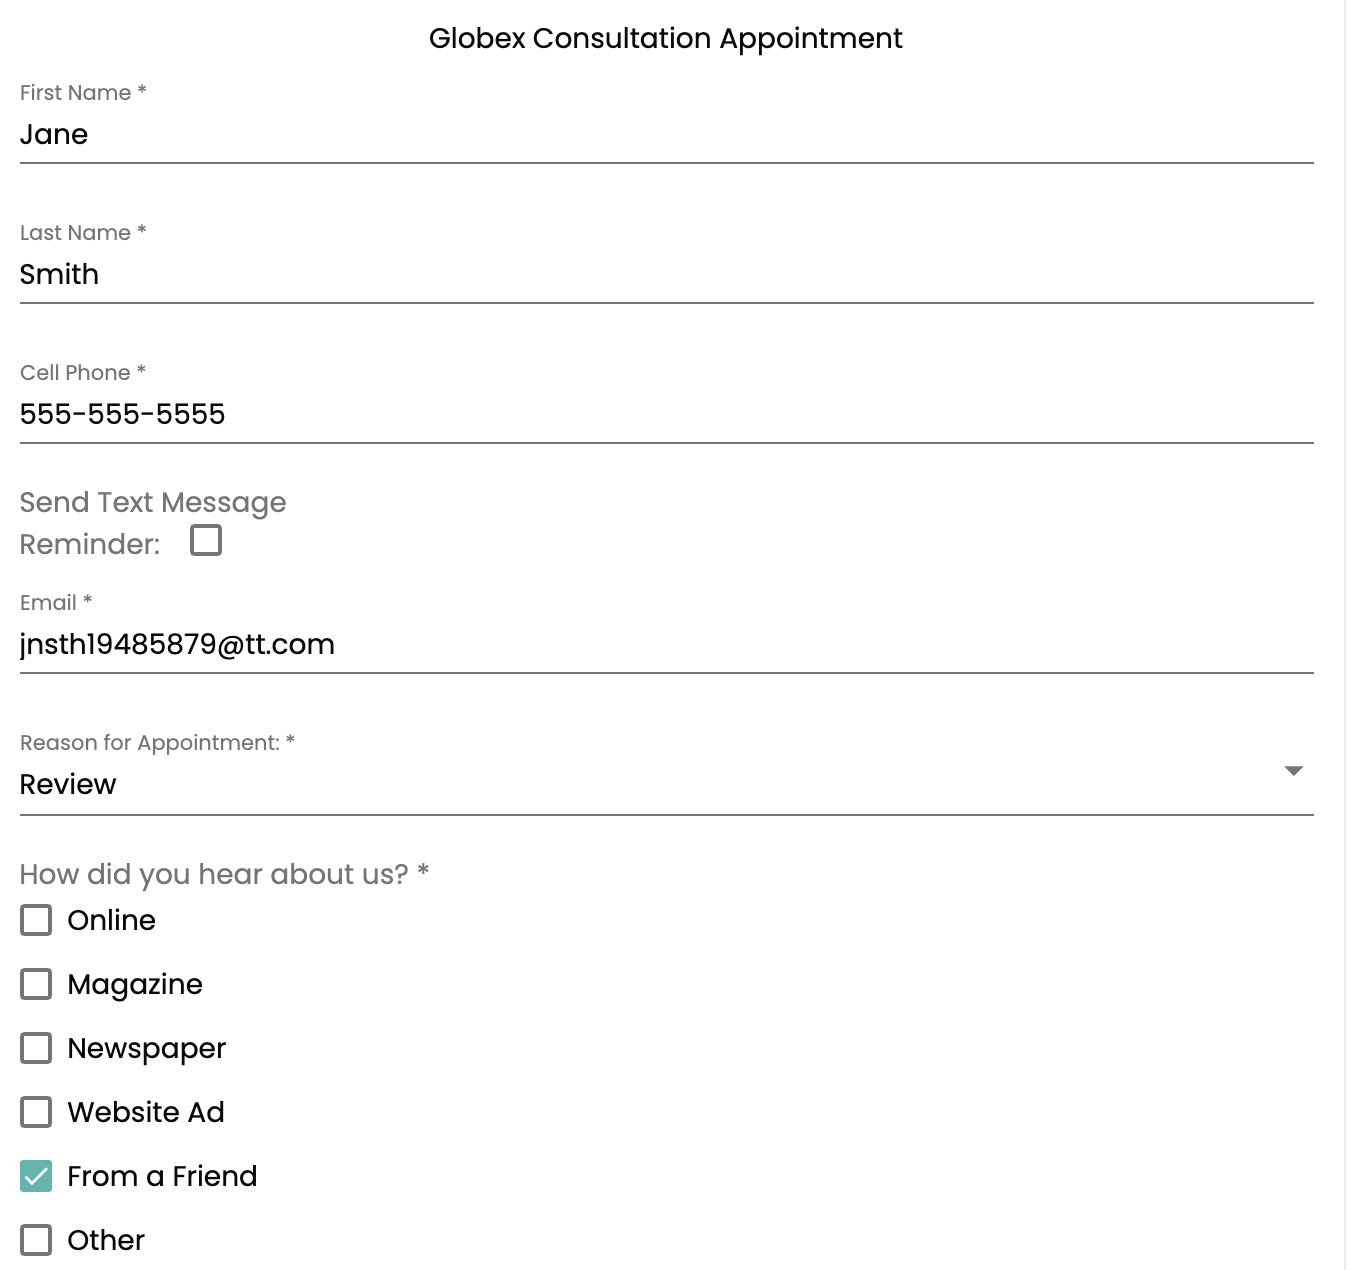
When booking appointments, it's best to gather all the information you need upfront. This saves time and prevents customers from having to manually fill out forms at the time of the appointment. Many appointment scheduling softwares don’t offer much customization on the appointment booking form.
With TimeTap, you can create a custom appointment booking form, by choosing and customizing the information you wish to collect. You can even customize the field format. For example, you can create a field and set up checkboxes, radio buttons or even a drop-down box for making selections on the form. Watch this tutorial on how to set up your booking form fields.
The information you collect on the form is saved in the customer profile so that it is easily accessible for future use. With our integrations, you can export this data to other applications. You can also view collected information directly on your personal calendar, giving you a quick and easy reference to appointment information.
Decide if you need to attach waivers or other disclaimer forms
Not every appointment requires a waiver or disclaimer form. However, if your business needs to provide any forms or waivers to the client, TimeTap makes it easy to include these as a part of the appointment scheduling solution.
So, whether you’re a medical provider offering vaccinations or a service provider scheduling jobs, TimeTap makes it easy to attach a disclaimer or waiver as a part of the appointment scheduling process. Once someone books an appointment with you, our system will attach the form and send it to the client in the confirmation email. The form can be electronically signed and returned to you.

Direct people to your page
Once you’ve customized your booking page and have all the elements in place, you’ll need to make your page easy for customers to find. This step will take some consideration. How do you want potential customers to locate this page? TimeTap gives you several options for directing people to your custom appointment booking page. Here are a few ways that you might want to consider directing people to your page.
Share a link to your custom booking page
If you advertise your services in a variety of places, this is a helpful option. You can use the link to your appointment booking page and place it in a share button on social media, in emails or in other locations where you can paste a link.
Place a “Book Now” button on your website
Adding an appointment booking button to your website is an easy way to schedule appointments. Anyone who visits your website can learn about your products and services and click the “Book Now” button when ready to schedule an appointment. They’ll be directed to your TimeTap appointment scheduling page where they can easily book an appointment with you.
Embed our scheduler on your website
If you want to keep customers on your website, embedding the scheduler on your site is a very useful option. It will require you to paste our code into your website editor. You can follow these steps for embedding the scheduler. Once complete, you’ll have the scheduler directly on your website, ready for clients to use.
Thinking through a few details at the beginning of the process will ensure a solid scheduling page that creates a great customer experience and helps you easily book appointments, while also getting the information you need. Our powerful scheduling solution gives you the customization and flexibility to power your organization’s appointment scheduling and communication — saving you time, money and hassle in the long run. Schedule a free demo today to see how TimeTap can help your scheduling needs.


